This article teaches you how to create a form and add that to the course content.
A form can be used to collect multiple types of information from the learners once they enroll on a course. For example, after completion of a chapter, you can roll out a feedback form asking them to rate the chapter content on various factors such as "easy to comprehend", "worth for money", "quiz difficulty" etc.
Steps to Create a Form:
Step 1: Go to your left navigation > Courses. Now, go to the course builder of your preferred course.

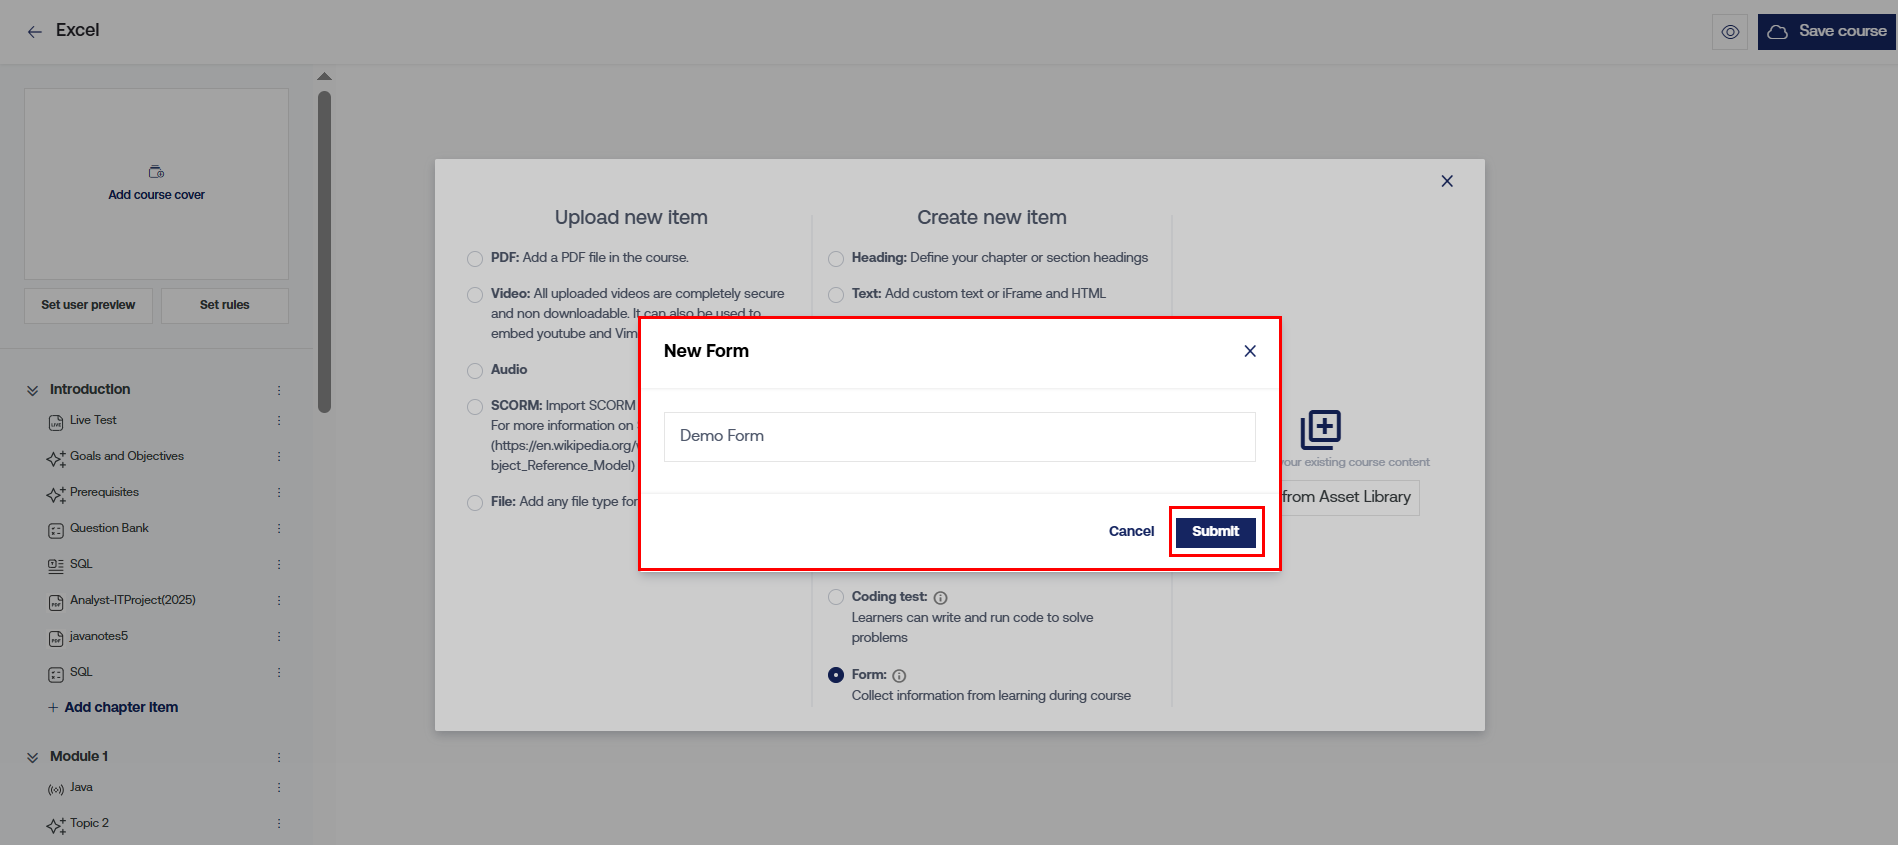
Step 2: Go to Add new Chapter > Form > Add form name > Submit.
Step 3: Fill in the following form details:
- Title: This contains the title of the course as entered by you while creating the form. This field is editable.
- Tags: Tags are the set of topics related to this form.
- Enable Sharing: Enable this option if you want the learners to be able to download the form.
- Availability Setting: Select "Always Available" if you want this form to be always available to learners. However, if you want to select a particular time frame, select Time Based > Available From (beginning date) > Available Till (Ending date).
Step 4: Using our in-built form builder, you can create the form easily by using drag & drop form elements feature.

Supported form fields in the Form Builder:
1. Header- Enter the title of the form or any other text that might be helpful to your learners. For example: "Select your preference" as header just before checkbox questions.

2. Checkbox Group- The checkbox is shown as a square box that allows the learners to select one or more options from a limited number of choices. For example: Which of these sports do you play actively? Here, the learner can select multiple options as per his answer.

3. Date Field- Select the Date field if you want the learner to select a date. For example: What is your Date of Birth?

4. File Upload- Using this, you can allow learners to upload any file.

5. Number- Select the Number field if you want the answer in a numerical form. For example: What would you rate our Live Class quality from 1-10 with 10 being the highest & 1 being the lowest?

6. Paragraph- This option is suitable if you want an answer in the form of a text entered by learners.
Example: Would you want our doubt class to get extended to twice a week? Why?

7. Radio Group- Radio Buttons are typically rendered as small circles, which get filled or highlighted when gets selected. It can be used in a group question where the learner needs to choose just one of the options. For example: What's your gender?

8. Select- This option allows learners to view multiple options & choose one, for a particular question. For example: What subject has been most beneficial for you? Options: Maths, Science & Economics.

9. Text Field- The Text Field is used to gather information that involves small texts. For example: Name the chapter which you liked the most?

10. Text Area- Text Area is used to gather descriptive text like an essay. This field makes it convenient for the learners to type in multi-line text.

Edit the form fields
- All the above-mentioned form field are fully editable. Drag & drop a form field & click on the "Edit" icon to make necessary changes.
- After clicking the "edit" icon, you will see various options related to a particular form type. A few have been explained below.
- Required- If you don't want your learners to skip this question then check this box.
- Label- The title of the form field under which this element will be visible to learners.
- Name- It is the batch question title under which the form element will open. Please note that the "Name" is not visible to the learners & is only for internal purpose.
- Value- This is the pre-filled answer. In the checkbox, question leave this field blank.
- Help Text- This text will help the learners in knowing the question and how to answer it.
- Options- Under Radio Group, Checkbox Group or Select, enter various options of the question you provide to your learners.
Copy a form field- Hover over the form field you want to copy, now click on the "copy" icon. The form will be immediately copied.
Delete form element- Hover over the form field you want to delete, now click on the "x" delete icon.
Step 5: After filling in all the details, click on "Save course".
Was this article helpful?
That’s Great!
Thank you for your feedback
Sorry! We couldn't be helpful
Thank you for your feedback
Feedback sent
We appreciate your effort and will try to fix the article